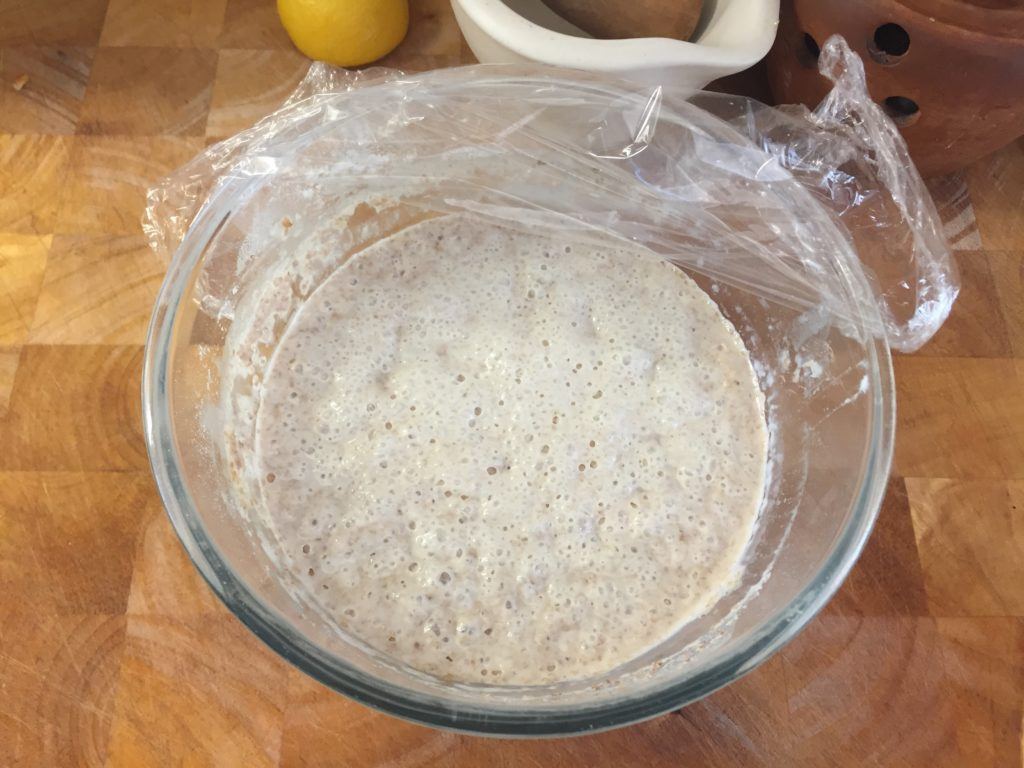
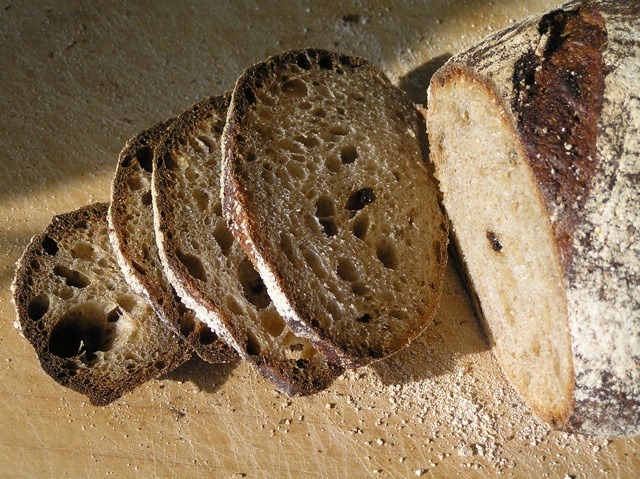
My “mother” has been active for 3 weeks. I have made a spelt loaf each week using a different recipe. Love the smell and taste! The hardest thing is to stop at 1 slice per day. Great with avocado and the purple saurkraut. I only make 1 loaf a week and store the “mother” in the fridge. This is the only bread I have in the week. Still losing weight.
Also used the “mother” as the flour component in Chocolate Brownies and Fruit Cake. Both moist and delicious!
Making sourdough is not a complicated process, but it does require time.
Ingredients
• 200 to 250g chosen flour in total (see method)
• filtered water
Method
You may be lucky enough to have had a starter, known as the ‘mother’, passed on by another sourdough baker. Or you might skip the step of producing the starter yourself and buy one from a health food shop or Amazon.co.uk.
We did not have space in the Clever Guts Diet Recipe Book to include the starter with the sourdough recipe, so here it is. For those who decide to do it from scratch, all you need is organic flour and filtered water. The yeast and bacteria in the flour will seed themselves! It takes about 5 days to bring to life and cultivate your Sourdough ‘mother’. During this time the starter needs intermittent feeding with fresh flour and water to keep it bubbling and rising. By about 5 days, once it is frothing and bubbling it is ready to use.
Start as you intend to continue - If you want a wholegrain loaf, add wholegrain flour to the starter. If you want rye or spelt bread, feed that to your starter. The starter works best if grown on predominantly similar flour.
Day 1: Make your starter
Place 50g of your chosen flour in a medium sized glass bowl. Add 50mls of filtered water and mix it with a wooden spoon. Use a loose muslin/gauze to cover it (some prefer to leave it uncovered to ‘breathe’ for the first 2-3 days). Place it in a consistently warm place at room temperature such as above the fridge.
Day 2: Feed the starter
You may start to see a few bubbles and get a fresh, yeasty and mildly sweet smell. At this point the yeast in the flour is starting to feed on the sugars in the mixture, producing carbon dioxide & alcohol (hence the yeasty smell). Stir in another 50g of flour and 50mls of water to the original mixture, cover.
Day 3: Feed the starter
There will be more bubbles appearing and it will have risen a bit. The natural yeast fermentation results in increased acidity which in turn encourages healthy bacteria to grow and fends off unwanted bacteria. These will start to give it the slight ‘sour’ musty smell. Again, feed it with the same amount of flour and filtered water.
Day 4: Feed the starter
It will be honeycombed with large and small bubbles and may have doubled in size. It will smell stronger and a bit vinegary as the fermenting process gets underway. Add the flour and water, combining them as before.
Day 5: Use the starter
If bubbling and active, remove half the starter and use to make sourdough. If not ready, repeat feeding as in day 4 for the next couple of days until bubbling and active.
Place the remaining ‘mother’ in a glass container and keep the in the fridge until needed. The drop in temperature will significantly slow down the activity and it can remain there for up to 2 weeks undisturbed. Any longer than this she should be placed in the freezer. When you need to use it allow to return to room temperature. It will then need feeding with water flour again and leaving for about 24 hours to become active once more.
Maintaining the ‘mother’
If baking regularly, continue to keep the starter at room temperature, removing some starter (usually half) and feeding it with flour & water each time. If using less often but regularly, keep it in the fridge, feeding it every 5-7 days. After feeding, it can help to remove the mother from the fridge for 12-24 hours at room temperature to make it active again before putting it back in the fridge or using it. You will need intermittently to discard or give away half as the mother gets bigger.
Tips
Some suggest covering with a muslin/thin gauze to keep other strains out (such as from other fermented goods nearby like cheese or mouldy fruit/veg), using just the natural microbes in the flour. Others find that the sourdough develops its own flavour from natural yeasts in the air too and prefer to leave it uncovered.
If the starter sinks and a layer of liquid has formed, either drain this off or stir in some more flour to return it to its usual thick consistency.
Happy fermenting! Let me know how you get on in the comments below.


How did you find the recipe?